
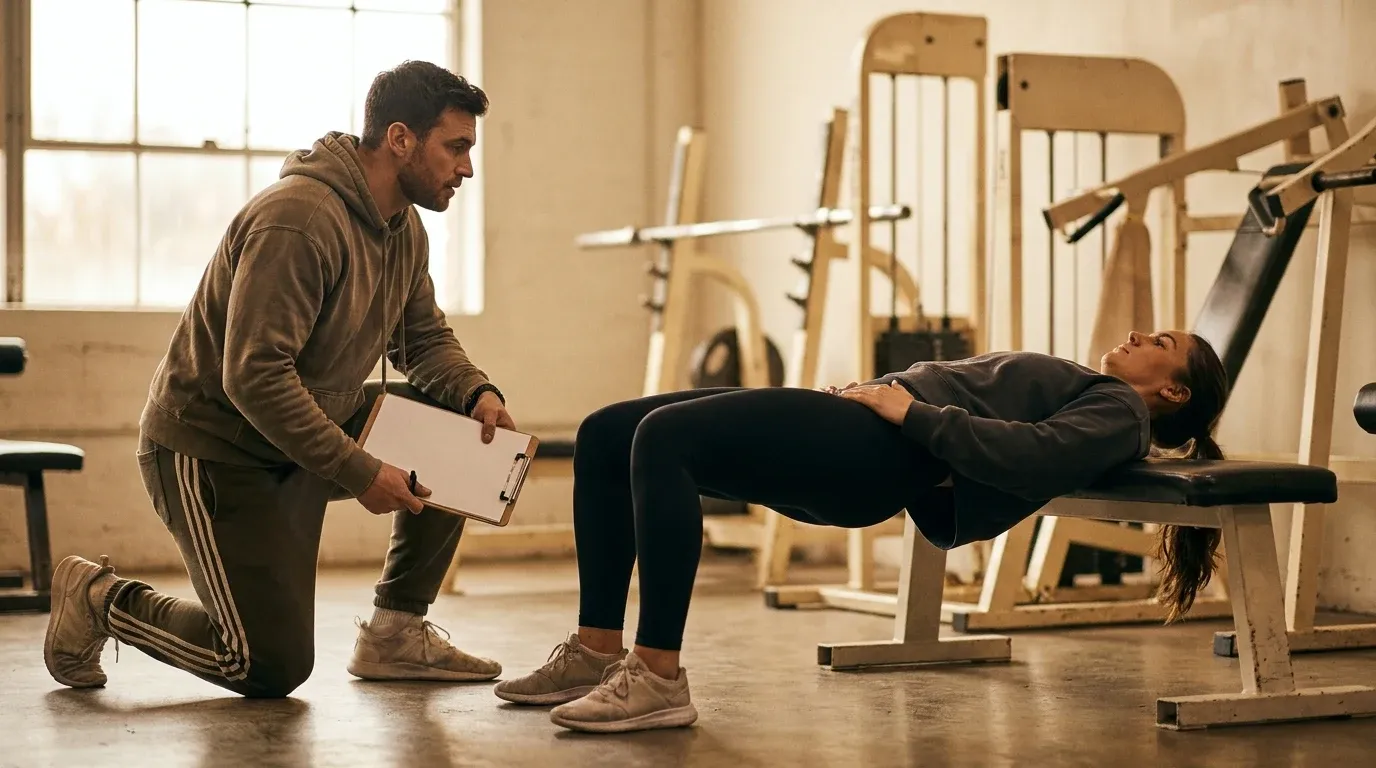
Ask most coaches what a good hip thrust looks like, and they'll tell you the client should "really feel it in the glutes." It sounds reasonable. It's also not a reliable standard. Sensation-based coaching has become the default in lower-body training, and for the hip thrust specifically, it's producing sloppy mechanics, compensation patterns, and confused clients who grind through discomfort because they assume that's the point.
This piece is a practical framework for coaches. It covers what to actually look for, how to cue it, and how to respond when a client tells you something hurts or doesn't feel right.
Why "Feel the Burn" Is Not a Coaching Standard
The burning sensation most clients describe during hip thrusts is primarily a byproduct of metabolic stress: lactate accumulation, occlusion of blood flow, and muscle fiber fatigue. These are real physiological events, but they don't confirm that the glutes are doing the majority of the work. A client with dominant lumbar extensors and poor glute recruitment can produce a significant burn. So can someone with limited hip mobility who's compensating through their lower back.
Sensation is variable by nature. It shifts with hydration, sleep, training history, and even caffeine intake. Using it as your primary feedback loop means your coaching standard changes every session without you realizing it.
Mechanical precision, on the other hand, is observable and reproducible. It gives you something to actually correct.
The Three Pillars: Setup, Foot Contact, and Controlled Movement
Before you cue a single rep, three structural elements need to be in place. If any of them are off, everything downstream is compromised.
Pillar 1: Setup
The bench height and bar position matter more than most coaches acknowledge. The bench should sit just below the client's shoulder blades at the bottom position, so the upper back can pivot cleanly as the hips rise. Too high and the client loses upper back support. Too low and they're essentially doing a floor bridge with unnecessary friction.
For barbell hip thrusts, the bar should rest in the hip crease, not on the upper thigh and not on the lower abdomen. A pad is almost always necessary. Without one, clients shift the bar instinctively to reduce discomfort, and that shift changes the load angle.
Before loading any weight, run through this setup checklist with your client:
- Upper back contact: The shoulder blades are resting against the bench, not hovering above it.
- Bar position: Centered on the hip crease, stable, and padded.
- Head position: Neutral. Not craned back, not tucked hard into the chest.
- Chin tuck cue: Ask for a slight chin tuck to discourage lumbar hyperextension at lockout, which is one of the most common technical errors in this movement.
Pillar 2: Foot Contact
Foot position is where a lot of hip thrust technique falls apart quietly. The goal is full, even foot contact with the floor throughout the rep. Heels rising off the floor is a clear sign of poor setup or insufficient ankle mobility. It shifts load toward the quads and reduces the mechanical advantage of the glutes.
Cue your client to drive through the entire foot, not just the heel. "Push the floor away" tends to work better than "drive through your heels" because it prompts full contact rather than a backward weight shift.
Foot width and toe angle vary by individual hip anatomy, so don't prescribe a universal stance. A reasonable starting point is hip-width apart with toes angled slightly outward. From there, adjust based on what produces clean hip extension without the knees caving or flaring excessively.
Knee tracking is the check. The knees should stay roughly in line with the second toe throughout the movement. If they collapse inward at the top, the abductors are being underused. If they flare hard outward, the client may be compensating for limited internal rotation.
Pillar 3: Controlled Movement
The hip thrust is not a ballistic exercise. It's a controlled, loaded hip extension. The upward phase should be deliberate, and the descent should be slow enough that the client maintains tension rather than dumping the weight back to the floor.
A 2-1-2 tempo is a useful default: two seconds up, one-second hold at the top, two seconds down. The pause at the top is where you'll catch the most important technical error: lumbar hyperextension at lockout. At full extension, the pelvis should be posteriorly tilted (or at least neutral), the core should be braced, and the glutes should be contracted. If the lower back is arching aggressively, the client is extending through the spine instead of the hip.
Cue this as: "Ribs down, squeeze the glutes, don't let your back arch at the top." Some clients respond better to tactile feedback here. A light hand cue at the lower back can help them understand what you're describing.
Treating Sensation Reports as Conversation Starters
When a client says "I don't feel it in my glutes," that's useful information. It's not a failure, and it's not an instruction to add more weight or more reps. It's a prompt to investigate.
Start with setup. Is the bar in the right position? Is the bench the right height? Then check the movement pattern. Is the client initiating with the hips or with the lower back? Are they holding tension at the top or rushing through the lockout?
A useful follow-up question is: "Where do you feel it?" If the answer is "mostly my lower back" or "my hamstrings are doing everything," that tells you something specific. Lower back dominance usually points to hyperextension at lockout or inadequate glute activation before the rep begins. Excessive hamstring involvement often means the feet are placed too far forward.
When the client says "I feel it a lot in my glutes," don't close the loop there. Check the mechanics anyway. Sensation can be present alongside poor technique. Your job is to confirm that the sensation correlates with correct execution, not to accept sensation as proof of it.
This approach also builds better client communication over time. Clients who learn to describe what they feel and link it to what they're doing become more self-aware movers. That's a training outcome worth developing, especially if you're working in contexts where executive fitness coaching demands high client autonomy between sessions.
Pain Is a Hard Stop, Not a Challenge to Overcome
Pain during a hip thrust is not a cue to push through. It's a signal that something structural is wrong, either with the setup, the load, or the client's current capacity for the movement.
The most common pain presentations in hip thrusts:
- Lower back pain: Almost always a technique issue (hyperextension at lockout) or a mobility issue. Reduce load, recheck setup, and add a deliberate posterior pelvic tilt cue before the set begins.
- SI joint discomfort: Can indicate asymmetrical loading. Check whether the client is shifting to one side during the movement. Unilateral hip thrusts may be a better regression here.
- Knee pain: Often linked to foot position or knee tracking issues. Reassess stance width and cue knee stability through the rep.
- Hip impingement or clicking: This is a hard stop. Don't adjust and retry. Refer out or regress to a bodyweight variation while you assess.
Coaches who encourage clients to train through pain are not building resilience. They're building injury tolerance, which is a different thing and a much more dangerous one. Pain management is outside the coaching scope of practice. When pain presents, your job is to stop the movement, document what happened, and refer to a qualified physical therapist or sports medicine provider if it persists.
This matters for long-term programming outcomes too. Research consistently shows that training longevity depends on avoiding accumulated injury. If you're helping clients break through a strength plateau, the strategy has to be built on clean mechanics. Load progression on a faulty pattern accelerates breakdown, not adaptation.
Putting It Together: A Session-Ready Cue Framework
Here's a practical sequence you can run through before and during any hip thrust set:
- Pre-set: Bar in the hip crease, bench under the shoulder blades, slight chin tuck, full foot contact on the floor.
- Initiation cue: "Brace your core, tuck your pelvis slightly, then drive the floor away."
- Midpoint check: Knees tracking over the second toe, no asymmetry in the hips.
- Lockout cue: "Ribs down, squeeze the glutes hard, hold for one second."
- Descent cue: "Slow and controlled down, keep tension the whole way."
- Post-set debrief: Ask where they felt it. Use the answer to adjust, not to validate.
This framework takes about 90 seconds to run through with a new client on the first session. After a few weeks, most clients internalize it. Your verbal cues can scale back, and you shift into observation and refinement mode.
The Standard You're Setting
Coaching the hip thrust well means resisting the pull toward sensation-first feedback loops. It means building a consistent standard that you can apply across clients, regardless of how they describe what they feel.
Clients trust coaches who can explain what good looks like and correct what isn't. That trust is built on mechanical clarity, not on matching the client's subjective experience of the exercise. If you're developing your coaching practice and thinking about how to differentiate your service, precision-based cueing is one of the fastest ways to demonstrate competence that clients can actually see and feel.
The hip thrust is an effective movement when it's executed well. Your job as a coach is to make sure "executed well" means something specific every single time.