
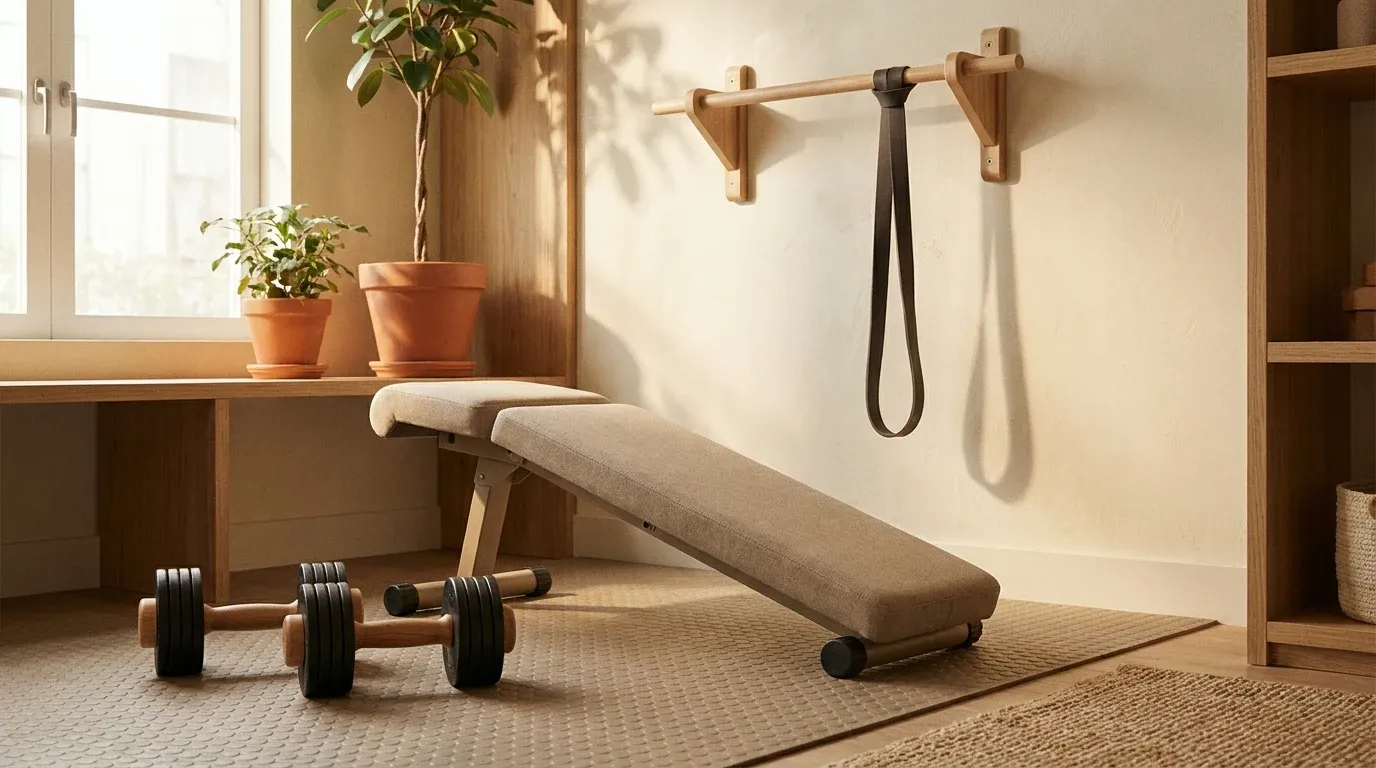
Home gym equipment sales have climbed steadily into 2026, and the reasons aren't hard to understand. Gym memberships remain expensive in major cities, commute times eat into training windows, and more people are working hybrid schedules that make a rack in the spare room genuinely practical. The market has responded with a flood of options. Adjustable dumbbells, smart benches, connected mirrors, folding squat racks. Every week brings a new launch claiming to solve your space problem.
Most of it is noise. Building a capable home gym isn't about buying everything available. It's about buying the right things in the right order, and knowing exactly what to skip.
Start With a Priority Framework, Not a Wishlist
The biggest mistake people make is buying equipment based on excitement rather than function. They pick up a cable attachment before they own a rack to attach it to, or they spend $400 on a smart jump rope while still training on bare concrete. A priority framework fixes this.
Here's the order that makes sense for most lifters building from scratch:
- Adjustable dumbbells. A single pair that replaces 15 to 20 fixed dumbbells covers the majority of upper-body work, accessory movements, and unilateral training. Quality sets from brands like Bowflex, PowerBlock, or NüoBell run $300 to $600 and last years. This is your first purchase.
- A flat-to-incline bench. Combined with adjustable dumbbells, a solid bench opens up chest press variations, incline rows, step-ups, Bulgarian split squats, and dumbbell hip thrusts. If you want your hip thrust technique dialed in before investing in a dedicated pad, Hip Thrust Technique: The Coaching Cues That Actually Work covers the setup in detail. Budget $150 to $300 for a stable, low-wobble bench that holds at least 600 lbs.
- Resistance bands. A set of looped bands in varying resistance levels costs under $40 and adds assistance for pull-ups, activation work, banded presses, and mobility drills. They pack flat and weigh almost nothing. There's no reason to skip them.
- A wall-mounted or doorframe pull-up bar. Horizontal pulling is the most under-represented movement in home gyms. A pull-up bar fixes that for $30 to $80. Wall-mounted options are more stable and don't damage door frames. If space is a concern, they fold flat against the wall.
These four items cover roughly 80% of compound and accessory work. Push, pull, hinge, squat, carry. You can build serious strength with this setup alone, and it all fits in a space smaller than most people assume.
6 Square Meters Is More Than Enough
A 2m x 3m footprint, which is about the size of a large bathroom or a section of a spare bedroom, is genuinely sufficient for free-weight training. The key is that each piece of equipment needs to serve more than one function.
Your bench isn't just for pressing. It's your step platform, your split squat rear foot support, and your dumbbell row base. Your resistance bands aren't just for activation. They assist pull-ups, add accommodating resistance to presses, and serve as a mobility tool after training. When equipment doubles up on function, you stop accumulating pieces you don't need.
The layout matters too. Keep your bench positioned so you have clear floor space on both sides for movements like Romanian deadlifts, lateral lunges, and core work. Your pull-up bar should be at a height that allows full hang without bending your knees excessively. Dumbbells should be stored vertically on a compact rack or a wall-mounted shelf rather than scattered across the floor.
Research consistently shows that training frequency and adherence matter more than equipment variety. Why Training Consistency Matters More Than Intensity makes this case with data. A modest setup you actually use beats an elaborate one you navigate around.
The Equipment That Wastes Your Money
The home gym market is full of products that look useful but underdeliver in practice. These are the categories worth skipping, at least until the fundamentals are covered.
Cable machine attachments without a rack. Functional trainers are genuinely useful, but they cost $800 to $2,500 and take up significant floor space. Buying handles, ropes, and attachments before you own the machine itself is a remarkably common mistake. Don't buy accessories for equipment you don't own yet.
Cardio machines. Treadmills, stationary bikes, and rowing machines frequently become expensive storage units within six months. If cardiovascular health is your goal, the evidence behind walking is stronger than most people realize. 10,000 Steps a Day: Is It Actually Enough for Your Heart? breaks down what the research actually shows. If you want structured cardio at home, a jump rope or a set of kettlebells for circuits takes up almost no space and costs a fraction of a treadmill.
Smart mirrors with subscription fees. These products often run $1,500 to $2,500 upfront, plus $40 to $50 per month in subscription costs. The content libraries are broad but rarely customized to your specific program. For that price, you could hire an actual coach for several months or invest in every piece of free-weight equipment on this list and still have money left over.
Specialty barbells before a standard barbell. Trap bars, safety squat bars, and Swiss bars all have genuine uses. But if you don't own a standard 20kg barbell and a rack yet, they're not the priority.
The connected fitness space is evolving fast. Products like Decathlon's $1,400 Smart Bench represent a new category that merges equipment with coaching tech, and some of it is genuinely impressive. But for most people building from zero, smart hardware is a second-stage purchase, not a starting point.
Flooring Is the Investment You're Probably Ignoring
Flooring is the least glamorous line item in any home gym budget, and it's the one most likely to get cut when money gets tight. That's a mistake that shows up quickly.
Training on hard flooring, whether tile, hardwood, or concrete, creates real problems. It transmits impact through your joints during jumping, landing, and heavy loading. It allows dumbbells and plates to slide during movements where you need stable ground contact. It transfers vibration and noise to the room or apartment below you, which matters if you're in a multi-story building.
The standard recommendation is 20mm rubber matting, sold in interlocking tiles that cover a 2m x 3m space for roughly $100 to $200 depending on the brand. This thickness absorbs impact, stays fixed under load, and protects the floor underneath from scratches and indentations. Thinner foam tiles are cheaper but compress quickly and don't hold up under heavy equipment.
Buy the flooring before you buy anything else. It's the foundation the rest of your setup sits on, literally.
Building the Setup in Stages
You don't need to buy everything at once. A staged approach lets you test what you actually use before committing more budget.
Stage 1 (under $300): Rubber flooring, resistance bands, and a doorframe pull-up bar. This is enough to train bodyweight movements, pulling patterns, and mobility work immediately.
Stage 2 (add $400 to $600): Adjustable dumbbells. This is the biggest single purchase and the one that unlocks the most training variety. Don't rush it. Buy quality and buy once.
Stage 3 (add $150 to $300): A flat-to-incline bench. Now you have a complete free-weight setup capable of handling full-body programming five days a week.
Stage 4 (optional, add $300 to $800): A standard barbell and weight plates, if you want to progress into heavier compound loading. A budget Olympic barbell and 150 lbs of plates fits this range. From here, you can assess whether a rack makes sense for your space and budget.
Total cost for Stages 1 through 3 lands between $700 and $1,200 depending on brand choices and where you source equipment. That's one to four months of gym membership in most US cities, and this setup doesn't have an expiry date.
What You're Actually Building
A home gym isn't a substitute for motivation. Equipment doesn't train you. What a well-built home setup removes is friction. No commute, no waiting for equipment, no gym hours dictating your schedule. When training is genuinely convenient, you do it more often. And frequency, across months and years, is what produces results.
The research linking long-term consistent exercise to health outcomes is substantial. 12 Months of Exercise Slows Biological Aging in New Study is one recent example of how the evidence continues to build. The intervention is exercise. The tool is whatever setup you'll actually use.
Keep it simple. Buy in order. Protect your floor. And don't let the product noise convince you that more equipment equals better training.